How to 'axolotify' your E-MU Xboard (at your own risk)
Besides an E-MU Xboard25 (the wider Xboards will probably work, too) and an AxolotiCore, you will need the two 3D-printed parts from my design, three M3x30 screws and three M3 nuts.
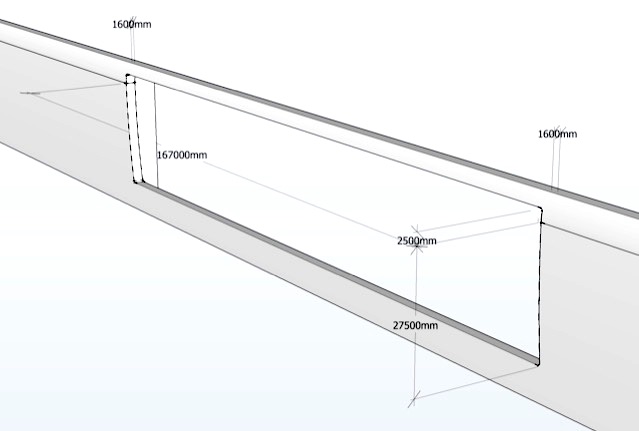
This is the rectangle you will need to cut out. It has 167 millimeters by 30 millimeters size and is centered between two of the little plastic ribs. (The dimension units shown are actually micrometers, not millimeters.)
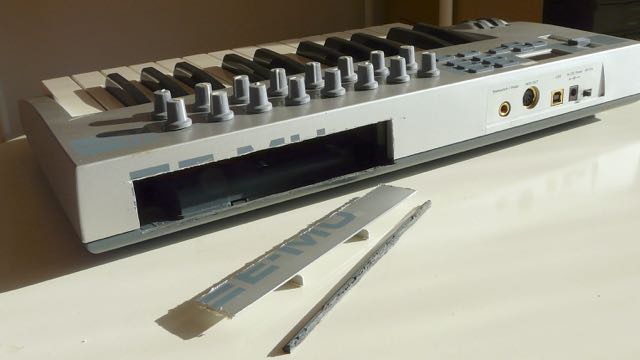
Disassemble the two Xboard case halves. Mark and do the cutting, check that the printed frame fits. The AxolotiCore will sit in that void above the battery compartment.
(My cutout looked very ugly after I had glued in a first, bad design and needed to tear it all off again.)
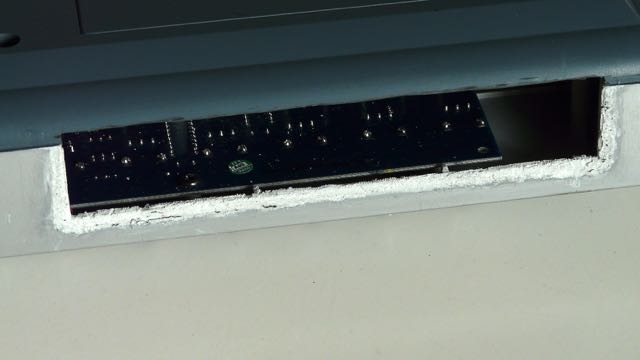
Only this part of the case will need glue, not the case base. You should at least sand the silver color off the edge.
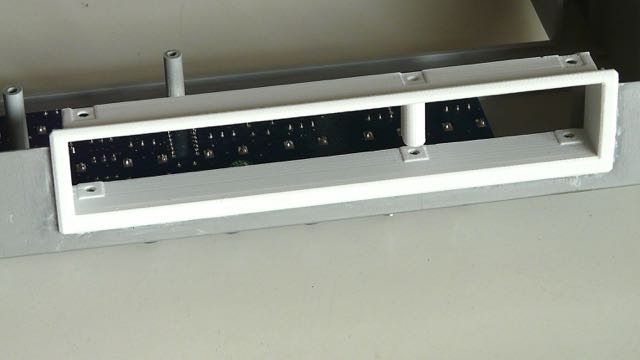
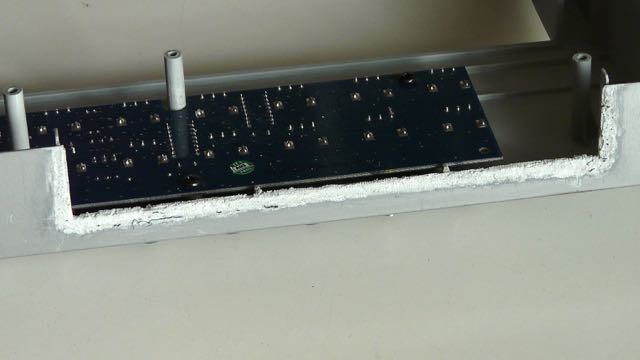
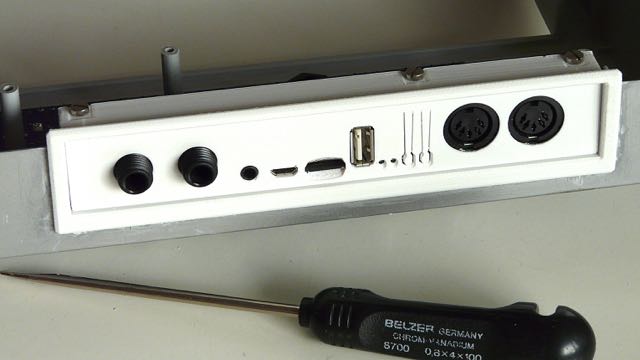
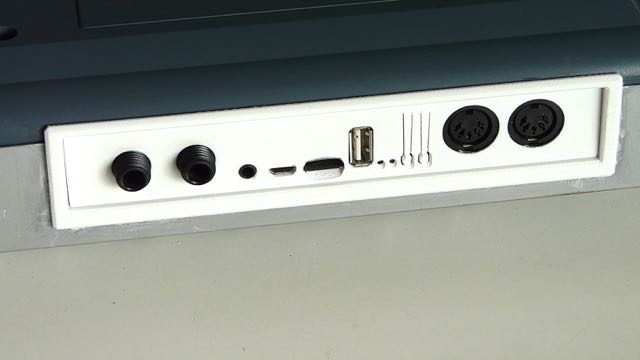
This is the correct orientation of the printed frame. I forgot to take a photo of where the three M3 nuts go, but you will see the hexagonal countersinks. Press the nuts in and fix them with a little glue.
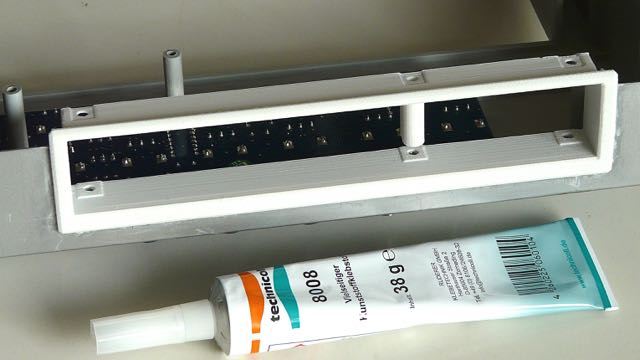
Glue it in.
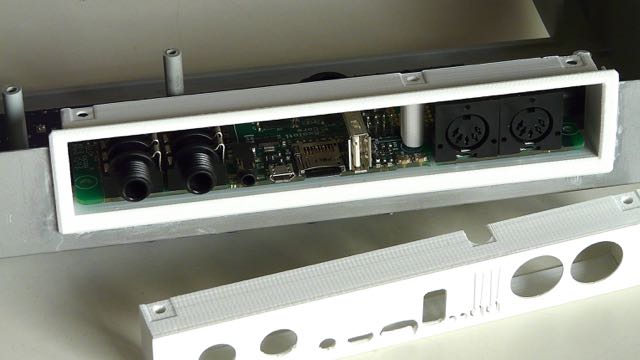
First put the AxolotiCore in its position...
... then slide the printed panel in. (The reverse order won't work.)
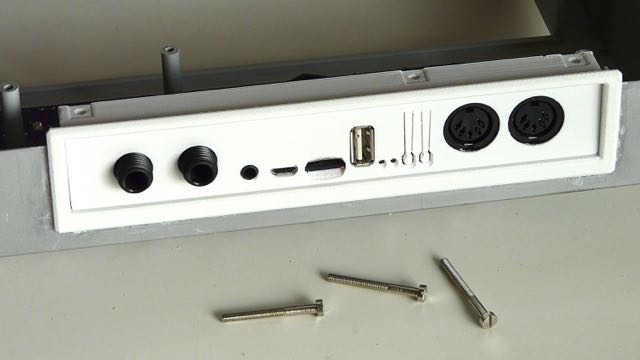
Tighten the screws moderately.
Re-assemble the Xboard.